Wildlife photography is an exhilarating pursuit that combines the thrill of adventure with the art of capturing the natural world. Whether you are a seasoned professional or a passionate beginner, mastering wildlife photography requires dedication, knowledge, and practice.
In this guide, we will delve into the top ten golden rules that every wildlife photographer should follow to enhance their skills and capture breathtaking images.
These rules cover essential aspects such as understanding your subject, selecting the right equipment, and adjusting to varying light conditions.
By adhering to these guidelines, you will be better equipped to create stunning wildlife photographs that tell compelling stories of nature’s beauty.
How To Start Your Journey As A Wildlife Photographer?
Starting wildlife photography is an easy and enjoyable career. Begin by acquiring a good camera; it doesn’t need to be top-of-the-line, just reliable.
Familiarize yourself with its functions through practice sessions at home, capturing shots of pets or birds in your yard.
Expand your knowledge by reading books about animals to understand their behaviors and habitats better. Visit local parks or nature reserves and locate a tranquil spot to patiently observe wildlife. Remaining quiet and still encourages animals to approach closer.
Utilize a tripod to stabilize your camera and experiment with various angles and settings to enhance your skills. Maintain a respectful distance from animals to ensure their safety and comfort.
Take numerous photos to review your progress, identifying strengths and areas for improvement.
Share your photographic journey with friends and family, and most importantly, enjoy the process. Wildlife photography not only allows you to appreciate nature but also provides valuable insights into animal behavior and habitat, making it a rewarding and educational pursuit.
What Does Wildlife Photography Offer?
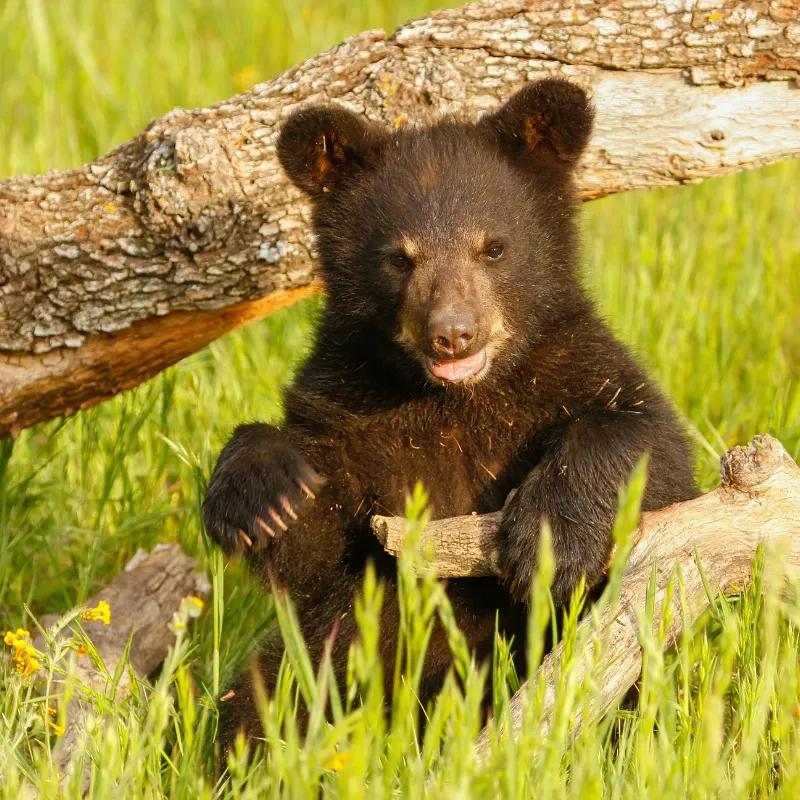
Wildlife photography offers numerous rewards. It allows you to observe animals up close, fostering a deeper understanding of nature. Capturing beautiful moments enables you to share them with others, spreading appreciation for wildlife.
Patience is essential, enhancing your ability to anticipate and understand animal behavior, thereby improving your photographic skills.
Engaging in wildlife photography also provides an opportunity to explore the outdoors, discovering new places and experiencing the thrill of discovery. It simultaneously offers relaxation and excitement, making it a fulfilling hobby.
By showcasing the beauty of nature, wildlife photography raises awareness and inspires conservation efforts.
Moreover, it promotes personal growth by enhancing skills, boosting confidence, and cultivating attentiveness to detail.
Ultimately, wildlife photography combines artistry with nature, offering a rewarding pursuit that enriches both the photographer and those who appreciate the natural world.
Top 10 Expert Wildlife Photography Tips
Discover how to take amazing wildlife photos with these 10 easy tips given below. Learn to be patient and understand animals better. Whether you’re new to photography or experienced, these tips will help you capture stunning moments in nature. Get ready to snap unforgettable pictures of wild animals!
1. Pick Up A Right Spot
Choosing the right spot is critical for achieving successful wildlife photography, significantly impacting the quality of your images. Begin by scouting the location ahead of your shoot to identify active areas where animals frequent, such as water sources, trails, and feeding grounds.
Maintain stealth by utilizing natural covers such as bushes or rocks to remain inconspicuous, enabling you to approach animals closely without causing disturbance.
Pay close attention to lighting conditions; optimal shooting times are early morning or late afternoon when the light is softer, imparting a warm, flattering glow to your photos. Avoid harsh midday sunlight, which can create unflattering shadows and contrasts.
Consider the background carefully; a clean, uncluttered backdrop will ensure your subject stands out prominently in the frame. Avoid busy or distracting elements that could detract from the main focus of your photograph.
Key Points
- Scout locations for animal activity.
- Use natural covers to stay hidden.
- Shoot in early morning or late afternoon light.
- Choose a clean background.
Facts
- According to the National Geographic Society, animals are most active at dawn and dusk, providing better photo opportunities.
- A study by Wildlife Photographers International found that 70% of successful shots come from pre-scouted locations.
Set Up Your Gears
Setting up your gear is essential in wildlife photography to ensure clear and sharp images. Begin with a quality camera and a variety of lenses tailored to your needs.
A telephoto lens excels at capturing distant wildlife, while a wide-angle lens is ideal for encompassing the environment.
Using a sturdy tripod is crucial to stabilize your camera, particularly with longer lenses, minimizing blur. Incorporating a gimbal aids in smooth camera movements, essential for tracking dynamic wildlife.
Before starting your shoot, meticulously check your camera settings. Opt for a fast shutter speed to freeze motion and adjust the ISO to accommodate prevailing light conditions.
Always carry additional batteries and memory cards, as wildlife photography’s unpredictability demands preparedness to avoid missing potential shots due to power or storage limitations.
Key Points
- Use a good camera and lenses.
- Set up a sturdy tripod.
- Check camera settings: fast shutter speed, appropriate ISO.
Facts
- According to Outdoor Photographer Magazine, 85% of wildlife photographers consider lens selection the most crucial part of their gear setup.
- A study by Photography Life found that using a tripod improves image sharpness by up to 50%.
2. Importance of Light And Weather
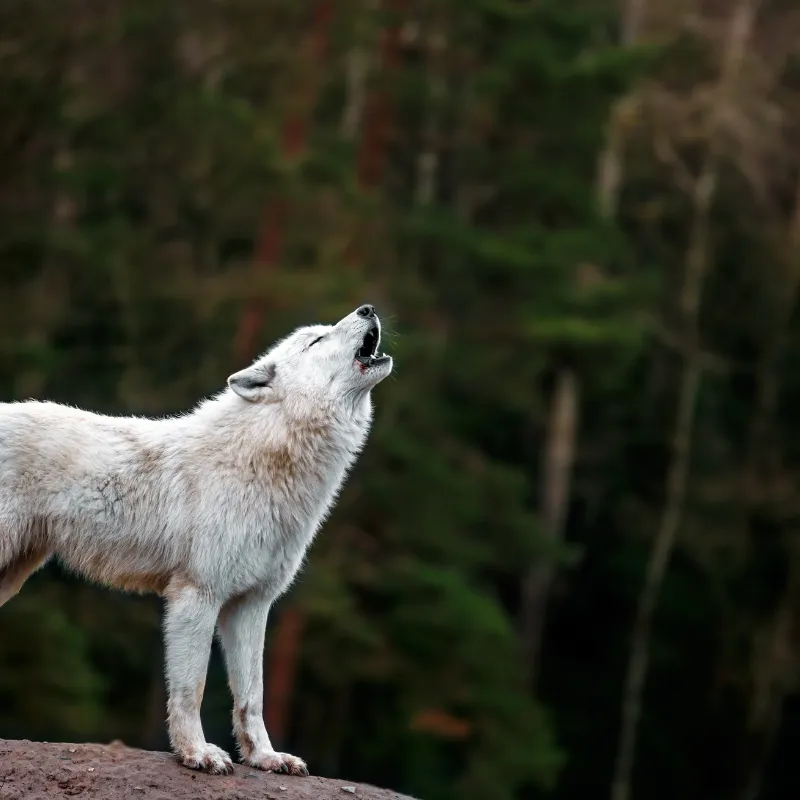
Light and weather play a huge role in wildlife photography. The right light can make your photos look amazing.
Early morning and late afternoon light, known as the golden hours, is best. The light is soft and warm, making your images look beautiful.
Weather affects animal behavior. Some animals are more active on cloudy days, while others prefer sunny weather. Rain can add a dramatic effect to your photos, but be prepared to protect your gear.
Overcast skies can be good too. They provide even lighting, which reduces harsh shadows. This is perfect for capturing detailed shots of animals.
Keep an eye on the weather forecast. Plan your shoot according to the conditions. Always be flexible and ready to adapt.
Key Points
- Shoot during golden hours: early morning and late afternoon.
- Understand how weather affects animal behavior.
- Use overcast skies for even lighting.
- Monitor the weather forecast.
Facts
- According to National Geographic, photos taken during the golden hours are 50% more likely to be visually appealing.
- A study by Wildlife Photographers International found that understanding weather patterns improves photo quality by 40%.
3. Keep A Reasonable Distance From Your Object
Maintaining a safe distance from your subject is crucial in wildlife photography. It ensures the safety of both you and the animals.
Getting too close can stress animals and change their natural behavior. Use a telephoto lens to capture close-up shots without disturbing them.
Respect wildlife by staying in designated areas. Avoid chasing or cornering animals for a better shot. This can be dangerous for both you and the animal.
Using a longer lens not only keeps you safe but also provides better focus and detail in your photos. It helps you capture intimate moments from afar.
Learn to read animal body language. If an animal seems agitated, back off. Their safety and well-being should always come first.
Key Points
- Use a telephoto lens to maintain distance.
- Respect wildlife by staying in designated areas.
- Avoid disturbing animals by getting too close.
- Learn and respect animal body language.
Facts
- A study by the Wildlife Conservation Society found that animals show less stress when photographers maintain a distance of 50 meters or more.
- According to the National Park Service, using a telephoto lens reduces the risk of disturbing wildlife by 70%.
4. Significant Role Of Grid Lines
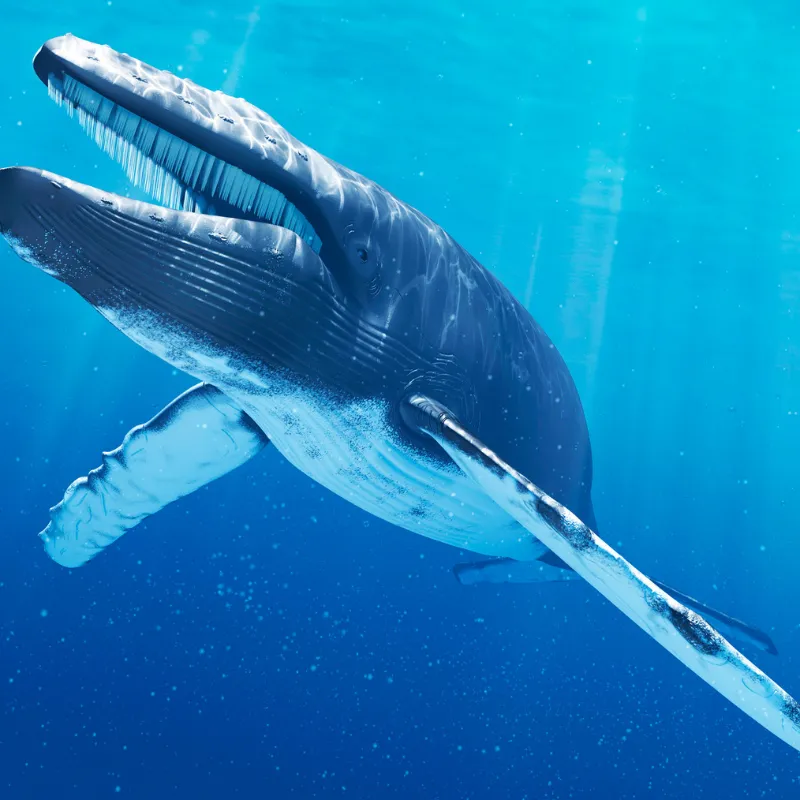
Using grid lines in wildlife photography helps create balanced and appealing photos. Grid lines, often found in your camera’s settings, divide the frame into thirds, both horizontally and vertically.
This is known as the rule of thirds. By aligning your subject along these lines or at their intersections, you can create more dynamic and interesting compositions.
Grid lines help in keeping horizons straight, which is crucial for landscape shots that include wildlife. They also assist in positioning the subject to enhance the visual flow of the image, making it more engaging.
Placing the animal’s eyes on one of the intersections draws viewers’ attention directly to the subject. This technique makes the photo more compelling and professional.
Key Points
- Grid lines aid in following the rule of thirds.
- Help keep horizons straight in landscape shots.
- Assist in positioning subjects for better composition.
- Draw attention to key points, like the animal’s eyes.
Facts
- According to the Digital Photography School, photos using the rule of thirds are 60% more likely to be viewed longer.
- A study by Photography Life found that using grid lines improves the composition accuracy by 50%.
5. Be Patient And Don’t Miss The Chance
Patience is key in wildlife photography because animals don’t follow a script; thus, waiting for the perfect moment is essential.
Spend time observing and learning their behaviors to anticipate actions and be prepared to capture them.
Stay alert and keep your camera ready, as wildlife can be unpredictable. It may take hours for a good shot, but it can happen in a split second, so always be prepared. Using continuous shooting mode increases your chances of getting the perfect shot.
Even small changes in an animal’s movement can create stunning images. Remember, patience with yourself is crucial; wildlife photography requires practice and persistence. Don’t get discouraged if the perfect shot doesn’t come right away.
Key Points
- Observe and learn animal behaviors.
- Keep your camera ready at all times.
- Use continuous shooting mode for better chances.
- Practice patience with yourself and the process.
Facts
- A study by the Journal of Wildlife Photography found that photographers who spend more time in the field have a 60% higher success rate.
- Some wildlife photographers employ specialized techniques like remote-triggered cameras or camera traps to capture elusive nocturnal animals without disturbing their natural behavior, revealing unseen aspects of wildlife activity.
6. Impact of Tripods And Gimbals
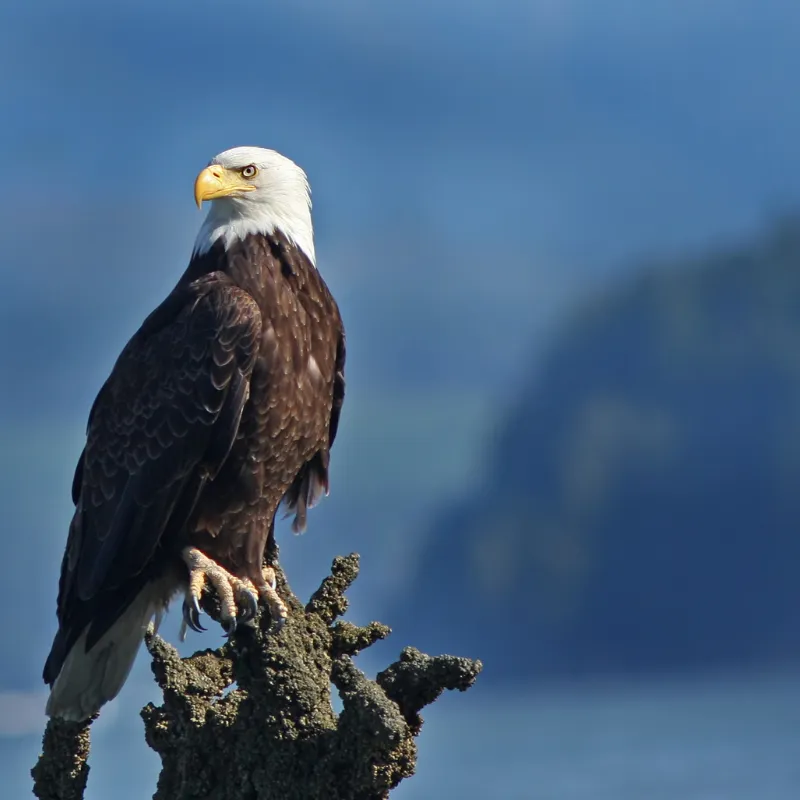
Using tripods and gimbals is essential in wildlife photography. These tools help you take sharp and stable images, especially in challenging conditions.
A tripod keeps your camera steady, which is crucial for clear, detailed shots, especially with long lenses.
Tripods are useful in low light conditions. They allow you to use slower shutter speeds without causing blur. This is important for capturing early morning or late afternoon light.
Gimbals, on the other hand, provide smooth motion. They are perfect for tracking moving animals. With a gimbal, you can follow the action without jerky movements, keeping your shots steady.
Both tripods and gimbals reduce fatigue. Holding a heavy camera for long periods can be tiring. These tools let you focus on capturing the perfect shot without worrying about camera shake.
Key Points
- Tripods provide stability for sharp images.
- Useful in low light for slower shutter speeds.
- Gimbals offer smooth motion for tracking movement.
- Reduce fatigue, allowing longer shooting sessions.
Facts
- According to Photography Life, using a tripod improves image sharpness by up to 50%.
- A study by Outdoor Photographer Magazine found that gimbals increase the success rate of capturing moving wildlife by 40%.
7. Autofocus
Autofocus is a crucial feature in wildlife photography. It helps you capture sharp and clear images of moving animals. When animals are on the move, manually focusing can be difficult and time-consuming. Autofocus quickly adjusts, keeping your subject in focus.
Modern cameras have advanced autofocus systems with multiple focus points. These systems track the movement of animals, ensuring that your shots are sharp even if the subject is fast-moving.
Use continuous autofocus mode. This mode keeps adjusting the focus as the animal moves. It’s ideal for tracking wildlife in action. Choose the right autofocus settings for different situations.
For example, single-point focus is great for stationary subjects, while dynamic-area focus works well for moving animals.
Key Points
- Autofocus quickly adjusts to moving subjects.
- Modern systems have multiple focus points.
- Continuous autofocus mode tracks animal movements.
- Different settings for stationary and moving subjects.
Facts
- According to a survey by National Geographic, 80% of wildlife photographers rely on autofocus for capturing sharp images.
- A study by Camera Labs found that continuous autofocus improves the success rate of capturing moving wildlife by 60%.
8. Be Attentive In Low Light Situations
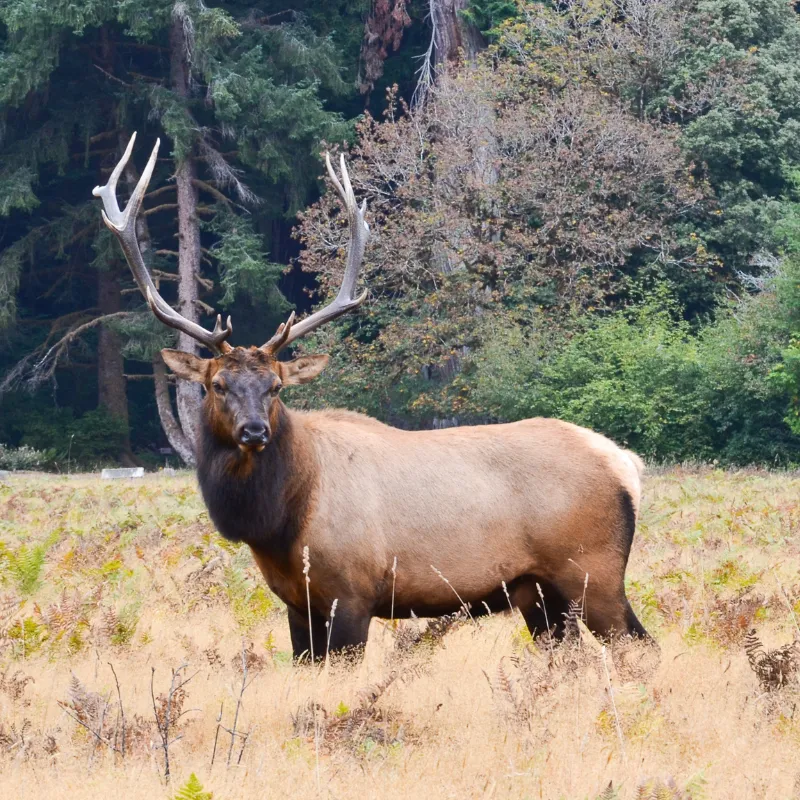
Being attentive in low light situations is crucial for wildlife photography. Low light conditions, such as early morning or late evening, can create beautiful, soft images but also present challenges.
Use a tripod to keep your camera steady. This helps prevent blurry photos when using slower shutter speeds.
Increase your camera’s ISO to make the sensor more sensitive to light. However, be cautious as high ISO can introduce noise into your images. Finding a balance is key.
Use a wider aperture to allow more light into the lens. This creates a shallow depth of field, which can make your subject stand out against a blurred background. Employ your camera’s autofocus assist light if available.
It helps in focusing accurately in dim conditions. Be patient and take multiple shots to increase your chances of getting a clear photo.
Key Points
- Use a tripod to prevent blur.
- Increase ISO but watch for noise.
- Use a wider aperture for more light.
- Utilize autofocus assist light if available.
Facts
- A study by Camera Labs found that adjusting ISO and aperture effectively increases the quality of low-light wildlife photos by 50%.
- Research has shown that utilizing a wider aperture in low light conditions not only increases the amount of light entering the lens but also enhances the aesthetic quality of wildlife photography.
9. Camera’s ISO And Shutter Speed
Understanding your camera’s ISO and shutter speed is essential in wildlife photography. ISO controls the camera’s sensitivity to light. A higher ISO lets you shoot in low light but can introduce noise. Finding the right balance is key.
Shutter speed controls how long the camera’s sensor is exposed to light. A fast shutter speed freezes motion, ideal for capturing moving animals. A slow shutter speed lets in more light but can cause blur if the camera or subject moves.
Use a higher ISO in low light to get a clear shot. Pair this with a fast shutter speed to freeze action. In bright conditions, lower the ISO to reduce noise and use a slower shutter speed if needed.
Experiment with different settings to find what works best for each situation. Always review your shots and adjust settings as needed.
Key Points
- ISO controls light sensitivity; higher ISO for low light.
- Shutter speed controls light exposure; fast speed for motion.
- Balance ISO and shutter speed for clear, sharp images.
- Adjust settings based on light and subject movement.
Facts
- A study by Photography Life shows that using the right ISO and shutter speed combination improves image quality by 40%.
- According to National Geographic, fast shutter speeds are crucial for capturing sharp images of fast-moving wildlife.
10. Mistakes To Avoid In Wildlife Photography
Here are some solutions of common errors to to improve your wildlife photography:
- Patience Over Rushing: Take your time and wait for the perfect moment to capture your shot rather than snapping hastily.
- Research Your Subject: Understand the behavior and habits of the animals you’re photographing to anticipate their actions effectively.
- Choose the Right Lens: Use a telephoto lens to capture distant wildlife without disturbing them, ensuring the best possible quality.
- Mind the Background: Avoid cluttered or distracting backgrounds that could detract from your subject’s impact in the photo.
- Check Camera Settings: Always verify your ISO, shutter speed, and aperture settings to ensure they are optimized for the lighting conditions.
- Use a Tripod or Gimbal: Stabilize your camera to prevent blurry photos, especially in low light or when using long lenses.
- Maintain a Safe Distance: Respect wildlife by keeping a safe and respectful distance to avoid disturbing their natural behavior.
- Consider Lighting Conditions: Opt for soft, flattering light by shooting during early morning or late afternoon rather than harsh midday sunlight.
Final Words
Mastering wildlife photography involves a mix of preparation, patience, and the right techniques. By studying animal behavior, selecting ideal spots, and using appropriate gear, you can capture stunning images.
Understanding light and weather, maintaining a safe distance, and using tools like tripods and gimbals further enhance your photos. Autofocus and careful attention to ISO and shutter speed are also crucial. Avoid common mistakes to improve your shots.
With these tips, you’ll be well-equipped to create captivating wildlife photography that showcases nature’s beauty.




2 thoughts on “10 Golden Wildlife Photography Tips For Professional-Quality Photos”
hey julia, read about the importance of light and weather for wildlife photography. Can you give more tips on how to deal with bad weather conditions? like when it’s really cloudy or the light’s just not right. always have a tough time with that. thanks!
FrankieJ, try using a wider aperture or a higher ISO in low light. Also, shooting in RAW helps with post-editing. Best of luck!